Why Does My Pneumatic Stapler Keep Jamming? 7 Causes and How to Fix Them
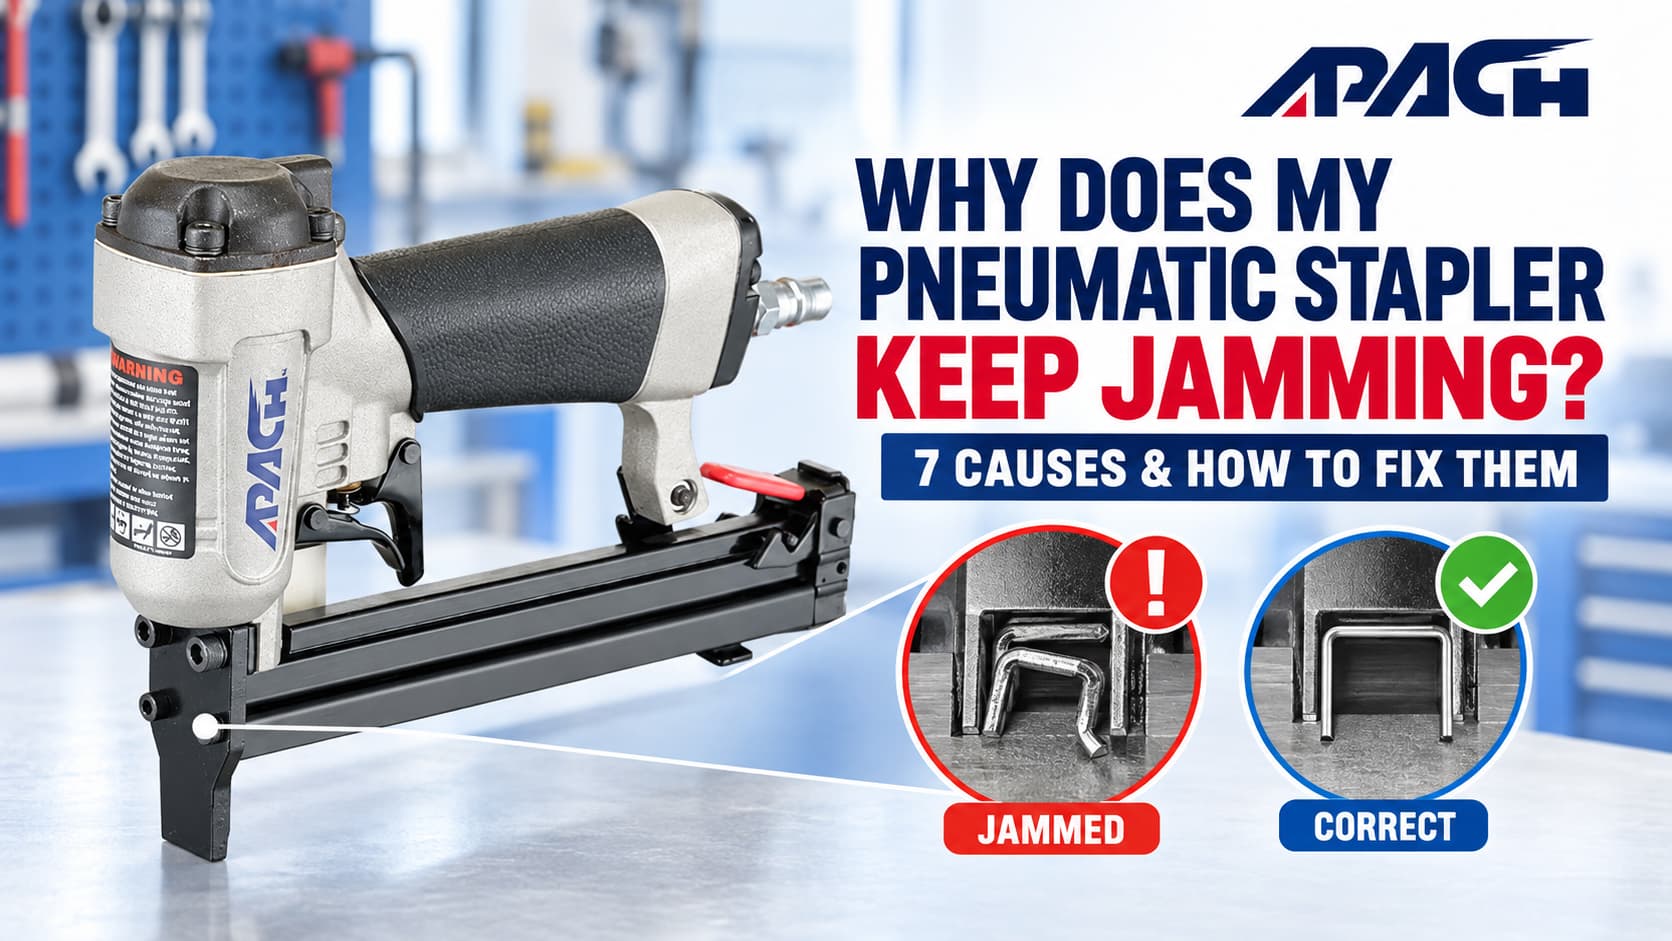
A pneumatic stapler that repeatedly jams can interrupt production, damage the workpiece, and increase wear on the driver blade and magazine components. The most common causes are incorrect staples, damaged fastener strips, improper loading, debris in the nose or magazine, unstable air pressure, worn feeding components, and incorrect operating technique.
Important: Before opening the magazine or clearing a jam, always disconnect the tool from the compressed-air supply. Never attempt to remove a trapped staple while the tool is still connected.
Table of Contents
- Is It a Jam, Misfeed, or Incomplete Drive?
- Quick Pneumatic Stapler Diagnosis
- Cause 1: Incorrect Staple Type or Size
- Cause 2: Damaged or Poorly Collated Staples
- Cause 3: Incorrect Staple Loading
- Cause 4: Debris in the Magazine or Nose
- Cause 5: Incorrect or Unstable Air Pressure
- Cause 6: Worn Driver or Feeding Components
- Cause 7: Incorrect Operating Technique
- How to Prevent Pneumatic Stapler Jams
- When Should the Stapler Be Serviced?
- Choosing a Reliable Pneumatic Stapler
- FAQ
Is It a Jam, Misfeed, or Incomplete Drive?
Before attempting a repair, identify what is actually happening.
| Symptom | What It Usually Means |
|---|---|
| Staple trapped in the nose | A true fastener jam |
| Tool fires but no staple is driven | Misfeed or feeding failure |
| Staple remains above the work surface | Incomplete drive |
| Two staples enter the driver channel | Double feed |
| Stapler works intermittently | Air-supply, feeding, or internal wear issue |
These symptoms can have different causes. For example, low pressure may cause an incomplete drive, but a staple physically stuck in the nose is more likely related to fastener compatibility, loading, debris, or worn components.
Quick Pneumatic Stapler Diagnosis
Start with these checks:
- Disconnect the air supply.
- Remove the remaining staple strip.
- Clear the jam according to the tool manual.
- Confirm that the staple series and dimensions match the stapler.
- Inspect the magazine, feeder, and nose for debris or damage.
- Reload straight, undamaged staples.
- Reconnect the air supply and set it within the specified operating range.
- Test the stapler on a scrap piece of the intended material.
If the same problem returns after these checks, inspect the tool for component wear or arrange professional service.
Cause 1: Incorrect Staple Type or Size
Using an incompatible staple is one of the most common causes of repeated jams.
Staples that appear similar can differ in:
- Crown width
- Wire gauge
- Leg length
- Strip configuration
- Collation angle or adhesive
- Material and surface finish
Even a small dimensional difference can prevent the staple from moving smoothly through the magazine or entering the driver channel correctly.
How to Fix It
Check the tool label, manual, or product specification for the correct staple series. Do not select staples based only on leg length or visual similarity.
APACH offers different pneumatic staplers, including fine-wire, narrow-crown, medium-crown, and wide-crown configurations. Each model is designed for specific staple dimensions, so the fastener series must match the selected tool.
If a stapler accepts several staple lengths, make sure the selected length is also suitable for the workpiece. A staple that is too long for a hard or thin material may bend instead of penetrating correctly.
Cause 2: Damaged or Poorly Collated Staples
Staples can become bent, separated, corroded, or contaminated during transportation and storage. A damaged strip may not move evenly through the magazine.
Poor collation can also allow individual staples to shift out of alignment. This increases the risk of misfeeds, double feeds, and nose jams.
How to Fix It
Remove the staple strip and inspect it for:
- Bent staple legs
- Broken or uneven collation
- Rust or contamination
- Crushed edges
- Loose individual staples
Replace damaged strips instead of trying to straighten them. Store staples in a dry environment and protect opened boxes from moisture, dust, and impact.
Cause 3: Incorrect Staple Loading
A correctly specified staple can still jam when it is loaded in the wrong direction, positioned outside the magazine guide, or forced into a partially closed magazine.
An overloaded magazine may prevent the feeder from moving freely. A staple strip can also break if it is dropped into the magazine roughly.
How to Fix It
Disconnect the air supply and follow the loading procedure for the specific model. Make sure:
- The staple strip faces the correct direction.
- The strip sits flat inside the magazine rail.
- The magazine is not filled beyond its stated capacity.
- The feeder contacts the staple strip correctly.
- The magazine closes and locks completely.
Do not force the magazine shut. Resistance may indicate incorrect loading or a foreign object inside the rail.
Cause 4: Debris in the Magazine or Nose
Wood dust, adhesive residue, broken collation material, metal fragments, and damaged staple pieces can accumulate inside the magazine or nose.
Even a small obstruction can interfere with staple movement or prevent the driver blade from returning to its normal position.
How to Fix It
After disconnecting the air supply and unloading the tool:
- Open the magazine or jam-clearing mechanism as instructed in the manual.
- Remove the trapped staple with an appropriate tool.
- Clean loose debris from the magazine and nose.
- Inspect the driver channel for remaining fragments.
- Confirm that the feeder moves smoothly.
Do not modify, grind, or widen the driver channel. Altering safety or structural components can damage the tool and create an operating hazard.
Cause 5: Incorrect or Unstable Air Pressure
Air pressure that is too low may prevent the driver blade from completing its full stroke. This can leave a staple partially driven or interrupt the operating cycle.
Excessive pressure is not a proper solution. It can increase recoil, accelerate component wear, damage the workpiece, and exceed the tool’s safe operating range.
How to Fix It
Use the pressure range specified for the individual stapler and check pressure while the tool is operating. If pressure drops during firing, inspect:
- Compressor output
- Hose diameter and length
- Regulator capacity
- Couplers and fittings
- Filters and moisture separators
- Air leakage
- Simultaneous use of other pneumatic tools
Increase pressure only within the manufacturer’s stated operating range.
Cause 6: Worn Driver or Feeding Components
If the correct staples are loaded and the air supply is stable, repeated jams may indicate mechanical wear.
Components that can affect feeding include:
- Driver blade
- Feeder spring
- Magazine rail
- Piston or bumper
- O-rings and seals
- Nose components
A bent or chipped driver blade may strike staples off-center. A weak feeder spring may fail to move the next staple into position, resulting in dry firing or intermittent feeding.
How to Fix It
Inspect accessible components according to the service manual. Stop using the stapler if the driver blade is bent, chipped, or failing to return.
Internal disassembly and component replacement should be performed by qualified personnel using parts intended for the specific model.
Cause 7: Incorrect Operating Technique
A pneumatic stapler may misfeed when the nose is not held firmly and squarely against the workpiece. Firing while the tool is moving, tilted, or bouncing off the surface can affect staple entry.
Very hard materials, hidden metal, knots, or an unsuitable staple length can also cause a staple to bend and become trapped.
How to Fix It
For more consistent fastening:
- Hold the tool squarely against the work surface.
- Apply stable contact pressure before firing.
- Do not drag or twist the stapler during discharge.
- Choose a staple length suitable for the material.
- Test unfamiliar materials before production.
- Maintain a controlled operating rhythm.
Operators using contact-actuation or automatic tools should follow the manufacturer’s instructions and receive appropriate training before high-speed operation.
How to Prevent Pneumatic Stapler Jams
A preventive routine is more effective than repeatedly clearing the nose.
Before Each Shift
- Confirm staple compatibility.
- Inspect staples for damage.
- Check the hose and fittings.
- Set the correct operating pressure.
- Lubricate the tool if required by its instructions.
During Operation
- Keep the stapler square to the workpiece.
- Monitor changes in sound, recoil, and driving depth.
- Stop immediately if feeding becomes irregular.
After Use
- Disconnect the air supply.
- Remove debris from the magazine and nose.
- Store the stapler and fasteners in a clean, dry location.
- Record recurring problems in production environments.
These principles also apply to other professional pneumatic nailers and staplers, although the correct fastener, pressure range, and maintenance procedure vary by model.
When Should the Stapler Be Serviced?
Arrange professional inspection when:
- Jams return after the tool has been cleaned and correctly reloaded.
- The driver blade does not return normally.
- The feeder sticks or moves unevenly.
- Air leaks from the cap, trigger, or nose.
- Fastener depth remains inconsistent at the correct pressure.
- The tool fires without feeding staples.
- Visible components are cracked, bent, or excessively worn.
Continuing to operate a damaged stapler may turn a minor feeding problem into more expensive internal damage.
Choosing a Reliable Pneumatic Stapler
The right stapler should be selected according to the staple specification, material, fastening depth, operating frequency, and production environment.
APACH offers pneumatic nailers and staplers for furniture, upholstery, construction, pallets, fencing, prefabricated housing, and other industrial fastening applications.
For conventional strip-fed applications, buyers can explore APACH’s complete range of pneumatic staplers. Packaging and shipping operations that need to secure corrugated boxes can also review the dedicated carton closing stapler range.
With experience in pneumatic-tool development and OEM/ODM cooperation, APACH can help buyers evaluate staple compatibility, tool configuration, production frequency, and operating conditions.
Need Help Solving Repeated Stapler Jams?
For product selection or recurring stapler problems, provide APACH with the tool model, staple specification, operating pressure, workpiece material, and a description of the fault. This information helps distinguish an operating issue from a fastener mismatch or component problem.
Frequently Asked Questions
Why does my pneumatic stapler fire but no staple comes out?
The magazine may be empty, the staples may not be feeding correctly, or the feeder, driver blade, or internal seals may be worn. Disconnect the air supply before inspecting the tool.
Can low air pressure cause a stapler to jam?
Low pressure is more likely to cause incomplete driving or an interrupted operating cycle. It can contribute to feeding problems, but repeated physical jams may also result from incorrect staples, debris, or component wear.
Can I use another brand of staples in my pneumatic stapler?
Brand alone does not determine compatibility. The staple series, crown width, wire gauge, leg length, and collation must match the tool specification.
Should I add oil when my pneumatic stapler keeps jamming?
Only lubricate the tool as specified by its manufacturer. Oil may help when friction or inadequate lubrication is involved, but it will not correct incompatible staples, a damaged driver blade, or debris in the magazine.
How can I safely clear a jammed pneumatic stapler?
Disconnect the air hose, remove the remaining staples, and follow the jam-clearing procedure in the tool manual. Never place your hands near the nose or attempt to clear a jam while the tool is connected to compressed air.